

Most home improvement regrets don’t come from the work itself — they come from poor planning. Projects run over budget, take longer than expected, or finish in a way that doesn’t quite match what was imagined. The good news is that almost all of this is avoidable. A solid plan, a realistic budget, and the right preparation turn a daunting project into a smooth, satisfying one.
Also Read


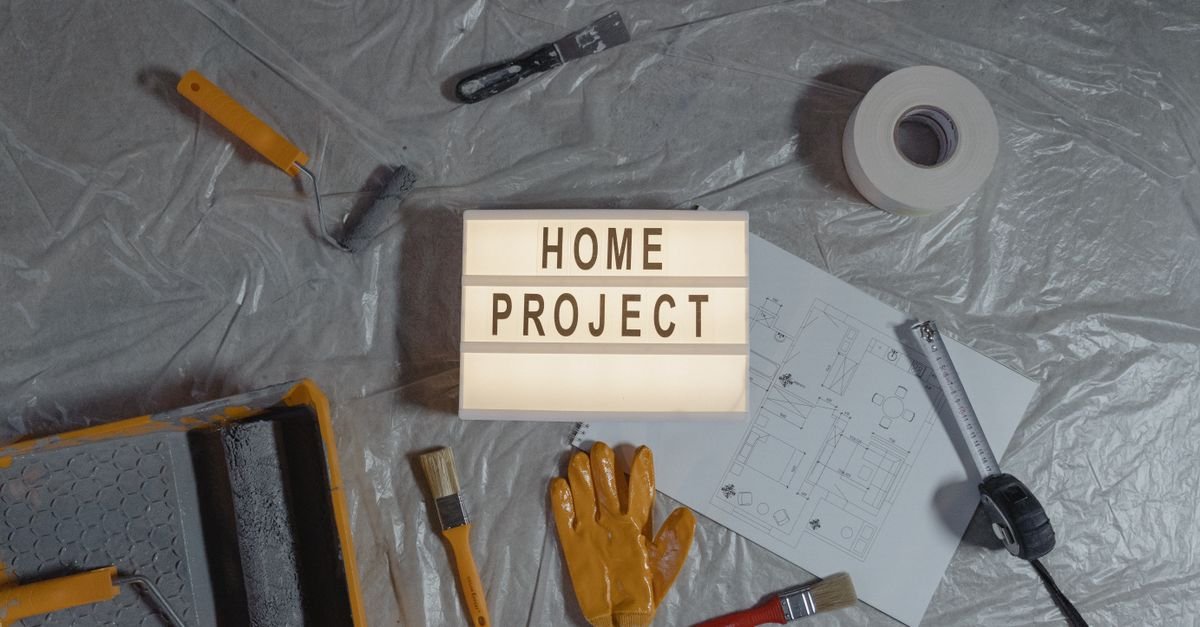
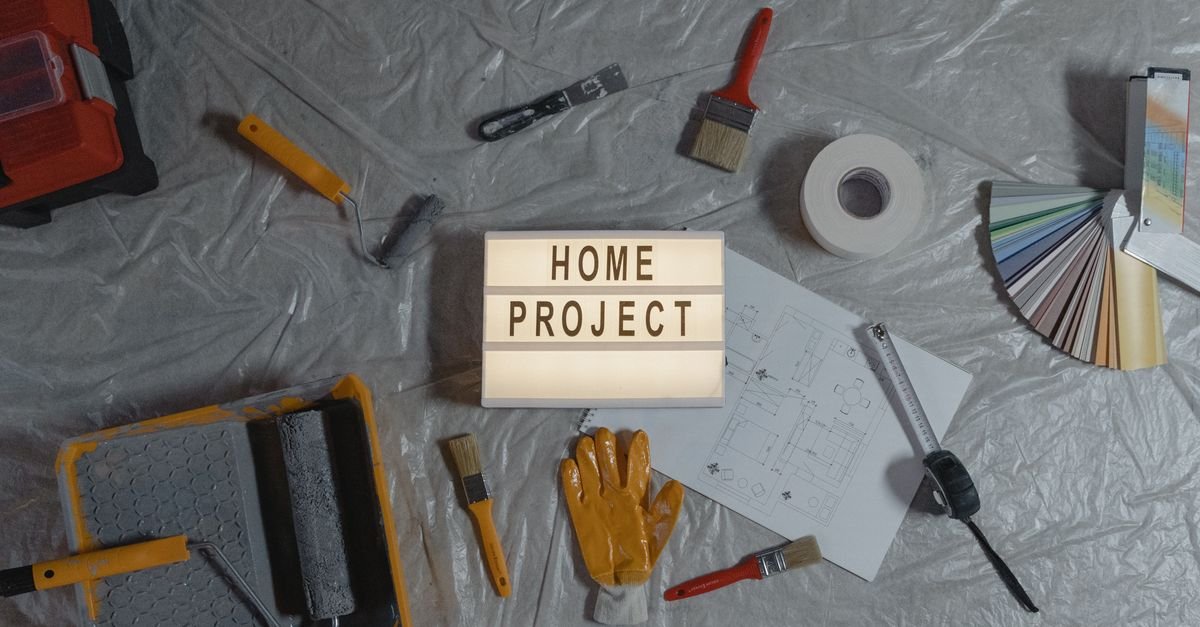
This guide walks through how to plan a home improvement project properly: defining the goal, building a budget that holds, gathering the right tools, and creating a checklist that keeps everything on track. Whether you’re tackling a small upgrade or a larger renovation, the planning principles are the same.
Start With a Clear Goal
Every successful project begins with a specific, honest answer to one question: what problem is this solving? “Make the kitchen nicer” is vague and leads to scope creep. “Add more storage and improve the lighting” is specific and gives you a target to plan and budget against. Define what success looks like before you do anything else.
Separate needs from wants while you’re at it. Knowing which elements are essential and which are nice-to-have lets you protect the budget when costs inevitably shift. It also helps you decide what to do now and what can wait for a later phase.
Build a Realistic Budget
Budgeting is where most projects succeed or fail. Research the real cost of materials and labor for your specific project rather than guessing, and get multiple quotes if you’re hiring help.
Always Add a Contingency
The single most important budgeting habit is setting aside a contingency — commonly around ten to twenty percent — for the surprises that almost every project produces. Hidden damage, price changes, and small additions add up. A contingency turns these from crises into manageable bumps. A budget with no margin is a budget that will break.
Break Down the Costs
List every cost category: materials, tools, labor, permits if needed, and disposal. Itemizing reveals the true total and stops the slow leak of forgotten small expenses. It also shows where you can save — perhaps doing some tasks yourself — and where it’s worth paying for quality or expertise.
Decide What to DIY and What to Leave to Professionals
Knowing your limits saves money and prevents disasters. Many cosmetic and simple tasks — painting, assembling, basic installation — are well within reach for a confident DIYer and offer real savings. But anything involving electrics, plumbing, structural changes, or safety risks is usually best left to qualified professionals. A botched DIY job in these areas costs far more to fix than it would have to do right the first time. Be honest about your skills, time, and tools before committing.
Gather the Right Tools and Materials
Few things stall a project like discovering mid-task that you’re missing a tool or material. Before starting, make a complete list of what you’ll need and gather it. For tools you’ll use repeatedly, buying quality pays off; for one-off specialty tools, renting or borrowing makes more sense. Order materials with a little extra to account for waste and mistakes, and check everything has arrived and is correct before work begins. Good preparation keeps momentum and avoids frustrating delays.
Planning Tools Help
Simple planning tools — a measuring tape, a notebook or app for tracking costs and tasks, and basic design sketches — keep a project organized. Measuring twice and recording decisions prevents expensive errors. The time spent planning on paper is always less than the time lost fixing avoidable mistakes.
Create a Timeline and Checklist
A project without a sequence becomes chaos. Break the work into clear steps in the order they must happen — some tasks depend on others being finished first. Build a realistic timeline, allowing for drying times, deliveries, and the fact that things usually take longer than expected. A checklist keeps you on track, gives a satisfying sense of progress, and ensures nothing important is overlooked.
Prepare the Space
Before work starts, clear and protect the area. Move furniture, cover surfaces, and set up a safe, organized workspace. Good preparation makes the work faster, cleaner, and safer, and protects the rest of your home from dust and damage.
Expect the Unexpected
Even the best-planned project hits surprises. The difference between a stressful project and a smooth one is anticipating that fact. With a contingency budget, a flexible timeline, and a clear sense of your priorities, you can absorb the inevitable bumps without derailing. Stay focused on the original goal, make decisions deliberately rather than in a panic, and the finished result will be worth it.

The Project Charter: One Page Before One Purchase
Projects fail in the definition stage, months before the first crooked tile. Write a one-page charter: the scope sentence (“Repaint and re-floor the guest bedroom” — if it needs a second sentence, it is two projects), the must/nice/never list (must-haves the project exists for, nice-to-haves that go first when budget bites, and never-items you are explicitly not doing this round — the scope-creep vaccine), the done test (a checkable definition of finished: “furniture back in place, switch plates on, paint cans labeled and stored”), and the deadline honesty (double your gut estimate; weekend projects are named for when they start, not when they end). Ten minutes of charter saves ten arguments mid-project — because every “while we’re at it” now has a document to answer to.
Budget Math That Survives Contact With Reality
Home-improvement budgets die from optimism, not prices. Build yours in four moves: line-item everything — materials, tools you must buy, disposal fees, takeout for the week the kitchen is dead; the forgotten lines sink more budgets than the big ones. Add a 20% contingency on top — not because you might need it, but because opening a wall always finds something (30% in houses over forty years old). Get three quotes for any hired work and treat a quote far below the others as a warning, not a win — underbids finish as overruns or disappearances. Splurge/save with intent: spend on what is touched daily and hard to redo (faucets, flooring, hinges), save on what is cosmetic and swappable (hardware finishes, light fixtures, paint brands one tier down). A project that finishes 10% under its padded budget beats one that stalls 40% over its fantasy budget — every single time.
DIY or Hire a Pro: The Honest Grid
Run every job through four questions. Skill: have you done it, or only watched it? A video teaches the steps; it cannot teach the feel of when something is wrong. Tools: if the job needs $400 of tools you will use once, renting or hiring may cost less than owning. Consequence of failure: a bad paint edge costs pride; a bad wire costs a house. Time honesty: a pro’s day is often a homeowner’s three weekends — price your weekends honestly. The bright-line rules: electrical beyond swapping a fixture, plumbing beyond a trap, anything structural, gas, and roofs = professionals. Not because homeowners are incapable, but because these fail invisibly and expensively, and permits plus insurance live there. The best DIY strategy is a ladder: paint → hardware and caulk → flooring and tiling → carpentry — each rung building real skill for the next, with the dangerous trades permanently above the ladder.
The Toolkit in Three Tiers
Tier one, the drawer kit (~$75): claw hammer, multi-bit screwdriver, tape measure, utility knife, level, pliers, adjustable wrench, stud finder, painter’s tape — this handles 70% of what a home ever asks. Tier two, the weekend box (~$250 more): a drill-driver with bit set (the single most liberating tool purchase), orbital sander, caulk gun, clamps, a real ladder, safety glasses and ear protection that actually get worn. Tier three, the graduation (buy per project, not per fantasy): circular saw, miter saw, multi-tool — purchased when a specific project demands them, ideally after renting once to learn the tool before owning it. Two buying rules keep the money smart: mid-range brands outlast bargain-bin tools by years and cost 20% more, not 200%; and batteries are the real ecosystem decision — pick one battery platform early and let every future tool share it.
Sequencing: The Order of Operations That Pros Never Violate
Almost every interior project follows the same gravity: demolition and repairs first (find the surprises while they are cheap), in-wall work second (wiring, plumbing, insulation — everything that hides), walls and ceilings third (patch, prime, paint — yes, paint before floors; drips fall down, not up), flooring fourth, trim and doors fifth (cut to meet the finished floor), hardware and fixtures last (the jewelry goes on the finished outfit). Violating the order is how projects double: floors installed before painting get drop-clothed for weeks; trim hung before flooring gets re-cut. And for lived-in renovations, add the survival plan — one functioning room sealed off from dust, plastic sheeting taped like you mean it, and a hard rule that the work zone gets swept and the tools boxed every night. Morale is a project material; buy it daily.
Permits, Safety, and the Paperwork That Protects You
Permits exist for the work that can hurt the next owner: structural changes, new circuits, plumbing relocations, decks, water heaters. Pulling one costs a fee and an inspection; skipping one can void insurance claims and stall a home sale during disclosure. When in doubt, one call to the local building office settles it anonymously. Old-house flags: homes built before 1978 can carry lead paint (test before sanding — kits are cheap) and older insulation and flooring can carry asbestos — both are leave-it-or-hire-abatement territory, never a weekend scrape. Daily safety floor: glasses on for anything that spins, cuts, or splashes; ears protected around power tools; a real respirator (not a dust mask) for sanding and spraying; breakers verified dead with a tester, not trust. None of this is exciting, all of it is cheaper than one emergency-room copay — and the day you finish a project with the paperwork clean and all ten fingers is the day the next project gets approved by the household committee.
The Renter’s Edition: Improvement Without a Drill
Renters improve homes constantly — just with reversible tools: peel-and-stick everything (backsplash tiles, wallpaper, floor tiles rated for clean removal) transforms kitchens and bathrooms for a weekend and peels away at move-out, swap-and-store upgrades (cabinet hardware, shower heads, light fixtures where wiring is plug-level — box the originals, reinstall at the end), command-strip and tension-rod infrastructure for shelving, curtains, and gallery walls without a single anchor hole, and the landlord letter for anything bigger — a written request framing the upgrade as property value (new faucet, better blinds) gets yes more often than people expect, especially with an offer to leave it behind. The renter’s budget rule: spend on what moves with you (furniture, lighting you can rehome, rugs) and keep the landlord’s fabric of the building their problem.
Hiring and Managing a Contractor Without Regret
The paperwork is the relationship: a written contract covering scope, materials, start and end dates, payment schedule, and who pulls permits — a pro who resists writing it down is telling you something. Payment structure: a modest deposit (10–20%), progress payments tied to milestones, and a meaningful final payment held until the punch list is actually done — never large money up front. Change orders in writing, every time; the friendly mid-project “while we’re here we could…” is where budgets go to die. Verify boring things: license number, insurance certificate, two recent references you actually call. Red flags worth walking from: cash-only pricing, pressure to decide today, no fixed address, and quotes wildly below the field. Good contractors appreciate organized clients — the paperwork protects both sides of a healthy job.
The Starter-Project Menu, Ranked by Payoff
Confidence is built in order. Weekend one: paint a room — the highest visual return per dollar in all of home improvement, and every skill (cutting in, rolling, prep) transfers everywhere. Next: caulk and seal — re-caulking a tub and sealing drafts is ugly-to-satisfying alchemy for under twenty dollars. Then: hardware and hooks — cabinet pulls, curtain rods, a wall of entry hooks; drill practice with instant daily payoff. Then: shelving and wall mounting — anchors, studs, and levels, the gateway to every future storage project. Then: a flooring room — click-lock planks in a small space teach measuring, cutting, and patience in one contained arena. Each project up the ladder borrows skills from the last — which is the honest secret of every capable homeowner you know: they were not born handy; they just sequenced their fear correctly.
First-Timer Mistakes (So You Can Skip Them)
Skipping prep — paint over dust peels, tile over grime lifts; prep is 60% of every job’s quality and 0% of its glamour. Buying the cheapest materials — bargain paint needs three coats (costing more than good paint’s two), bargain caulk cracks by spring. Measuring once — the tape measure is free to use twice; the second board is not. No drop cloths — every first-timer believes they are tidy; every floor disagrees. Starting demo before materials arrive — a ripped-out bathroom waiting three weeks for a backordered vanity is a special kind of household misery. Working tired at the finish line — the last 10% done exhausted becomes the 20% you redo. And the meta-mistake: doing it all alone — a second pair of hands halves most jobs and catches the error you can no longer see.
The Maintenance Calendar That Prevents Projects
The cheapest home improvement is the repair you never needed. Spring: gutters cleared, exterior caulk and paint inspected, AC serviced before the heat. Summer: deck and fence sealed on a dry weekend, irrigation checked. Autumn: furnace serviced and filters swapped, drafts sealed, hoses drained before frost. Winter: the indoor punch list — interior touch-up paint, dripping taps, running toilets, door hinges. Monthly, year-round: HVAC filter check, range-hood filter degrease, water-heater and under-sink glance for the leak that is always cheaper today than Saturday at midnight. An hour a season is the whole subscription — and it is the difference between choosing your projects and having your house choose them for you, usually during holidays.
The Project Charter Card, For the Fridge
Define: one scope sentence, the must/nice/never list, a checkable done test, the doubled deadline. Fund: line-item everything, add 20% contingency (30% in older homes), three quotes for hired work, splurge on daily-touch items. Decide: DIY climbs the ladder — paint, caulk, hardware, shelves, floors; electrical, plumbing, structural, gas, and roofs go to licensed pros. Sequence: demo → in-wall → paint → floors → trim → hardware. Protect: permits where required, glasses and ears always, respirator for dust, breakers tested dead, pre-1978 paint tested before sanding. Finish: punch list done, tools boxed, paint labeled, photos taken for the next owner’s manual — and one weekend of rest before the household committee tables the next proposal.
How This Pillar Connects to the Rest of the Library
Every other guide in this library eventually lands here, because improvement is how inspiration becomes drywall dust: the budget-decor playbook’s paint-and-hardware magic runs on this pillar’s prep, tools, and sequencing; the outdoor-living and security guides’ bigger installs — pergolas, floodlights, reinforced doors — graduate through this pillar’s DIY-or-pro grid and permit rules; the seasonal maintenance calendar here is the umbrella over every room-specific care ritual, from laundry vents to gutter runs; and the charter-and-contingency discipline is transferable to any project a household ever undertakes, renovation or otherwise. Master the boring skeleton — define, fund, sequence, protect — and every beautiful idea in the rest of this library stops being a someday and starts being a scheduled weekend.
Start This Weekend
Pick the smallest project on your someday list and run it through the full method as practice: write the one-page charter Friday night, price the materials with a 20% pad Saturday morning, do the work with drop cloths down and glasses on, and finish the punch list before the tools go away. A caulked tub or a painted hallway learned this way teaches the entire discipline — and the discipline, not the drill, is what turns a household into people who can fix things.
Frequently Asked Questions
How do I budget for a home improvement project?
Research real material and labor costs, itemize every category, get multiple quotes if hiring help, and always add a contingency of around ten to twenty percent for surprises.
What should I do before starting a renovation?
Define a specific goal, build a realistic budget with contingency, decide what to DIY versus hire out, gather all tools and materials, and create a step-by-step timeline and checklist.
Which home improvement tasks should I leave to professionals?
Anything involving electrics, plumbing, structural changes, or safety risks. Cosmetic and simple tasks like painting and assembly are often fine to DIY.
Why do home projects go over budget?
Usually because of vague goals, underestimated costs, and no contingency. Hidden issues and small additions add up — a clear plan and a margin for surprises prevent most overruns.
Key Takeaways
- Define a specific goal and separate needs from wants before anything else.
- Build a realistic, itemized budget and always include a ten-to-twenty-percent contingency.
- Be honest about DIY limits — leave electrics, plumbing, and structural work to professionals.
- Gather all tools and materials in advance and use simple planning tools to avoid errors.
- Create a step-by-step timeline and checklist, prepare the space, and expect surprises.
A great home improvement outcome is built before the first tool comes out — in the planning. Define your goal, budget with a margin, prepare thoroughly, and work to a checklist, and your project will finish on time, on budget, and the way you imagined. For more guidance, visit our home improvement guides and the full Home Improvement & Planning collection.
More Home Improvement & Planning Guides & Reviews
- Budget-Friendly Home Renovation Ideas That Add Value
- Home Extension Ideas to Transform Your Space on a Budget
- Basement Finishing Ideas: Turn Your Basement into Living Space
- Flooring Installation Tips: How to Get It Right
- Home Maintenance Checklist
- Best Space Heaters for 2026: 10 Top Picks by Room & Type
- Best Ceiling Fans for 2026: 10 Top Picks by Room & Budget
- Home Repair Tips
- What are Innovative Space-Saving Solutions? Maximize Minimalism!
- Home Painting Ideas