
New flooring transforms a room — but a beautiful floor installed poorly will buckle, gap, squeak, or wear out early. Whether you’re hiring a professional or tackling it yourself, understanding how flooring installation works helps you get a result that looks great and lasts. This guide covers practical flooring installation tips, the preparation that makes or breaks the job, and what to know for the most common flooring types.
Also Read


Why Installation Matters as Much as the Floor
You can buy the best flooring available and still end up disappointed if it’s installed badly. Proper preparation and technique determine whether your floor stays flat, tight, and durable — or develops gaps, lifting, and noise within months. The good news: most flooring problems come from a handful of avoidable mistakes, and knowing them up front sets you up for success whether you DIY or supervise a pro.
Preparation: The Most Important Step
Acclimate the Flooring
Many floor materials — especially wood, laminate, and vinyl — need to sit in the room for a day or more before installation so they adjust to the home’s temperature and humidity. Skipping this is a leading cause of gaps and buckling later, because the material expands or contracts after it’s laid. Always follow the manufacturer’s acclimation guidance.
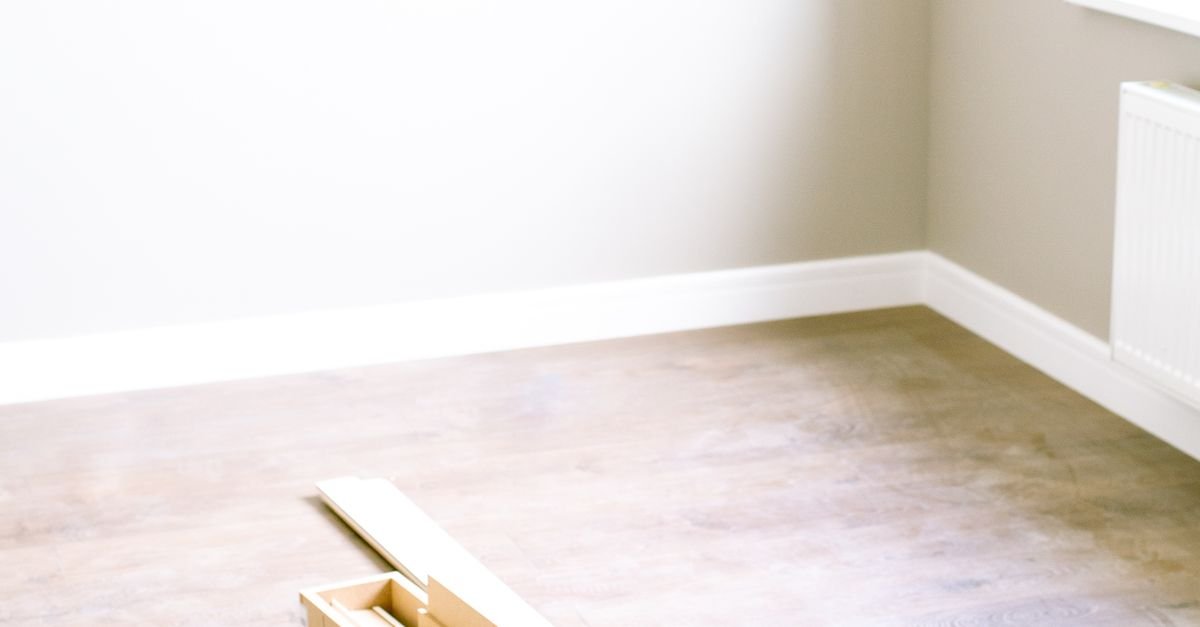
Prepare a Clean, Level, Dry Subfloor
The subfloor underneath must be clean, dry, and level. Debris, moisture, or an uneven surface telegraphs through the new floor, causing unevenness, squeaks, and premature wear. Check for and fix any high or low spots, ensure the subfloor is dry (especially over concrete or in basements), and clean it thoroughly. This unglamorous step is the single biggest factor in a long-lasting floor.
Check for Moisture
Moisture is the enemy of most flooring. Over concrete or in below-grade rooms, test for moisture and use an appropriate moisture barrier or underlayment if needed. Installing over a damp subfloor leads to warping, mold, and adhesive failure.
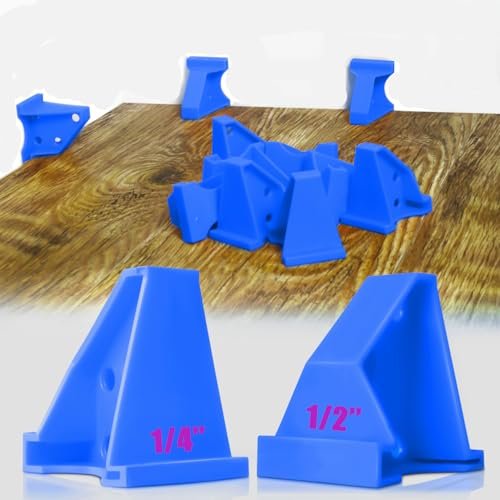
Underlayment & Expansion Gaps
Two technical details matter a lot. Underlayment — the layer between subfloor and flooring — can add cushioning, sound reduction, and moisture protection; use the type recommended for your flooring. Expansion gaps are small spaces left around the room’s perimeter (for floating floors like laminate and many vinyls) that let the floor expand and contract with temperature and humidity. Leaving these gaps (then covering them with baseboards or trim) is essential — floors installed tight to the walls have nowhere to move and will buckle. These are the details DIYers most often miss.
Tips by Flooring Type
Laminate & Luxury Vinyl Plank (LVP)
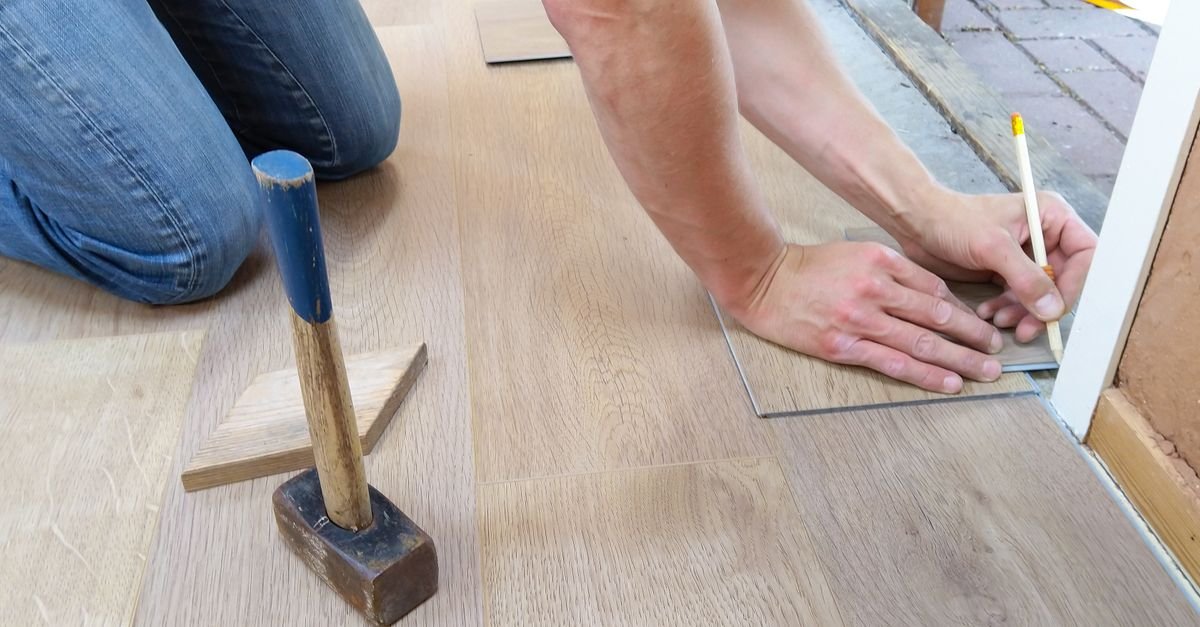
These click-together “floating” floors are the most DIY-friendly. Acclimate the planks, prep a flat subfloor, use the right underlayment, stagger the plank joints for strength and a natural look, and leave expansion gaps around the edges. They’re forgiving and popular for first-time installers.
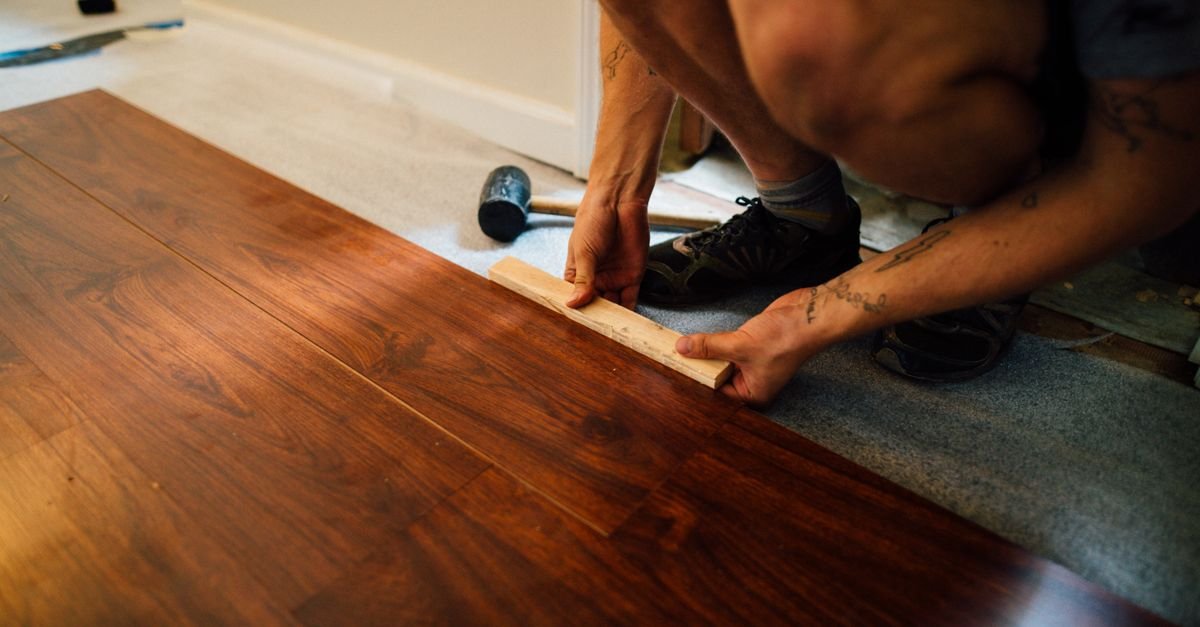
Hardwood
Solid hardwood is more demanding — it’s usually nailed or glued, needs careful acclimation, and is sensitive to moisture and subfloor condition. Engineered wood is more stable and often easier (some click together). Hardwood installation often benefits from professional skill, especially for nail-down methods.
Tile
Tile requires a solid, level, rigid subfloor (movement cracks grout and tiles), proper adhesive/mortar, consistent spacing, and correct grouting and sealing. It’s more involved and less forgiving of mistakes — many people hire a pro for large tile jobs.
Carpet
Carpet needs good padding underneath, proper stretching, and secured edges. Stretch-in installation in particular is usually best left to professionals for a smooth, lasting result.
As an Amazon Associate, HomeNeeds24 earns from qualifying purchases.
Common Mistakes to Avoid
Most flooring failures trace to a few errors: skipping acclimation; installing over an uneven, dirty, or damp subfloor; forgetting expansion gaps; using the wrong (or no) underlayment; not staggering plank joints; and rushing the prep to get to the “fun” part. Avoid these and you avoid the vast majority of problems. Measure carefully and buy extra material (around 10% more) to account for cuts, waste, and future repairs.
DIY or Hire a Professional?
Click-together laminate and luxury vinyl are very achievable for confident DIYers and offer big savings. Hardwood (especially nail-down), tile, and stretch-in carpet are more demanding and often worth a professional for a flawless, lasting result. Be honest about your skills, tools, and time — a botched installation costs more to fix than it would have cost to do right. When in doubt, prepping the room yourself and hiring out the tricky install is a smart middle path.
Frequently Asked Questions
What’s the most important step in flooring installation?
Preparing a clean, level, dry subfloor — and acclimating the flooring first. Most flooring problems (gaps, buckling, squeaks) come from skipping proper prep, not from the flooring itself.
What are expansion gaps and why do they matter?
They’re small spaces left around the room’s edges for floating floors (like laminate and vinyl) so the floor can expand and contract with temperature and humidity. Without them, the floor has nowhere to move and will buckle.
Can I install flooring myself?
Click-together laminate and luxury vinyl plank are very DIY-friendly. Hardwood (nail-down), tile, and stretch-in carpet are more demanding and often better left to professionals.
How much extra flooring should I buy?
Around 10% more than the room’s area, to cover cuts, waste, mistakes, and future repairs. Running short mid-project — and not being able to match a dye lot later — is a common headache.
Key Takeaways
- Installation quality matters as much as the flooring itself.
- Acclimate the material and prepare a clean, level, dry subfloor — the biggest factors in a lasting floor.
- Use the right underlayment and leave expansion gaps for floating floors.
- Laminate and LVP are DIY-friendly; hardwood, tile, and carpet often warrant a pro.
- Avoid common mistakes, and buy ~10% extra material for cuts and repairs.
Great flooring starts beneath the surface — with acclimation, subfloor prep, and the right technique. Whether you DIY or hire out, getting these fundamentals right ensures a floor that looks beautiful and lasts for years. For more guidance, visit our home improvement guides and the full Home Improvement & Planning collection.