
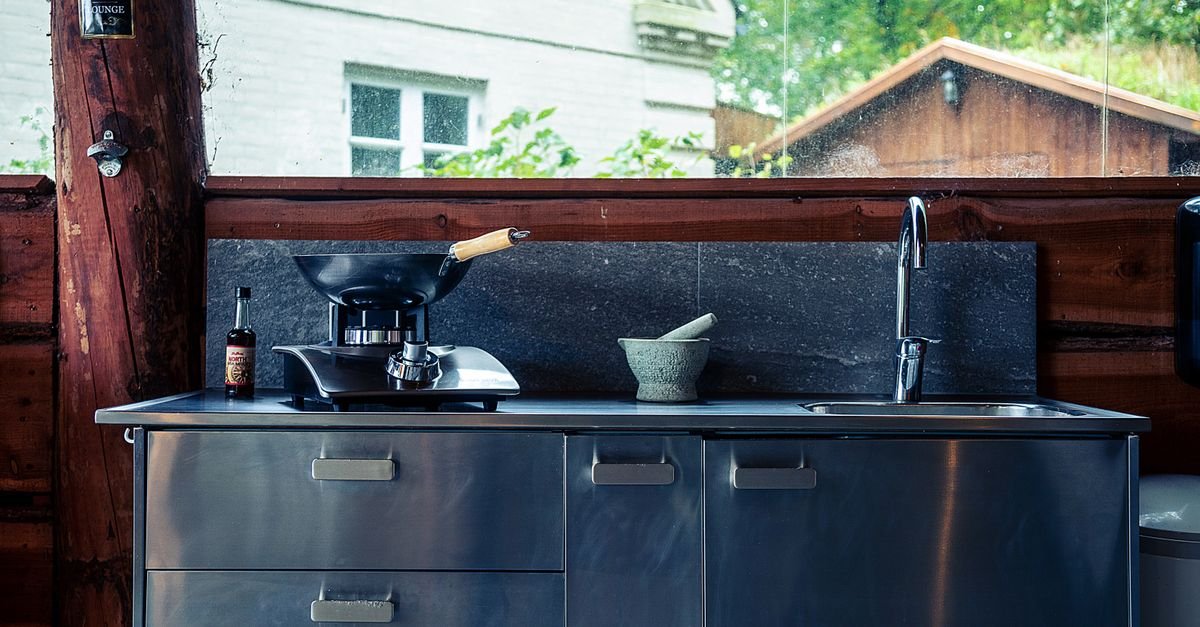
A budget outdoor kitchen is a layout decision plus three honest components: a grill you already trust, weather-worthy counter surface on a simple base (cinder block, lumber frame, or a converted cabinet), and storage that actually seals against weather and pests. The magazine versions run five figures; the version that cooks the same burgers assembles for a few hundred dollars and a weekend — if you spend where heat and water demand it and save everywhere else.
Also Read


This is the complete budget build guide: the three-tier path from grill cart to built-in, the layout rules that make small setups cook big, the materials that survive outside, and the splurge-vs-save map.
Key Takeaways
- Start from the work triangle: grill, prep surface, and landing zone within two steps — layout matters more than equipment at every budget.
- Tier one (a grill cart plus a prep table) delivers 80% of the function for a twentieth of the showroom price.
- Cinder blocks plus a concrete or stone top remain the unbeaten DIY counter formula: cheap, fireproof, and weatherproof.
- Never trap a grill against combustible walls or under low cover — clearances outrank aesthetics, always.
- Outdoor storage must seal: weather gaskets against rain, latches against raccoons — indoor cabinets promoted outside fail within one season.
- Run the budget backward from use: weekly grillers justify plumbing and power; weekend hosts need a counter and a cooler.
Start With How You Actually Cook (The Layout Rules)
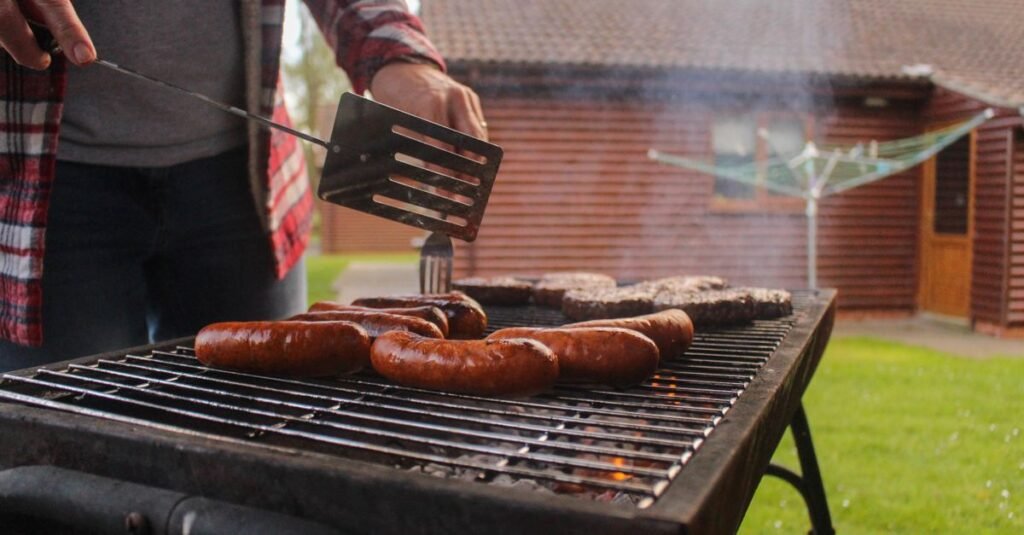
Every functional outdoor kitchen — from cart to showroom — obeys the same geometry. The work triangle: grill, prep counter, and a landing zone (where hot platters go) within easy reach of each other. The landing zone is the one beginners skip and regret at the first tray of ribs.
Placement rules that cost nothing and decide everything: close enough to the indoor kitchen that carrying food isn’t an expedition (the number-one predictor of whether an outdoor kitchen gets used), positioned so smoke blows away from seating and open windows on your prevailing breeze, on a level, non-combustible surface, and with the grill clear of walls, railings, and overhangs per its manual — typically several feet from anything combustible and never under a low roof.
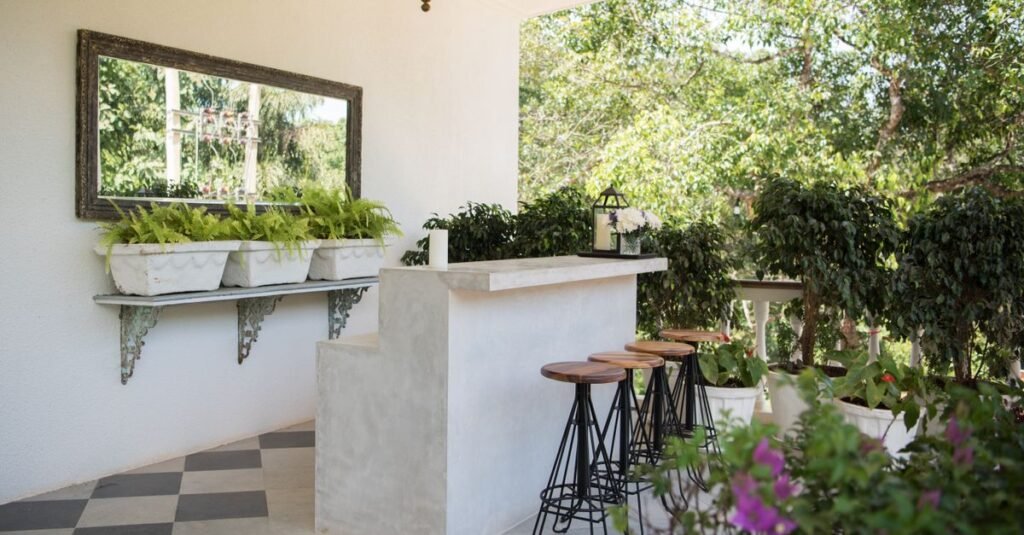
The counter math: eighteen inches of prep space minimum on one side of the grill, and any amount of landing space on the other beats none. If you host, add downstream surface near the seating — a serving shelf or bar counter — so the cook stops being a waiter.
The Three-Tier Build Path (Pick Your Weekend)
Tier One: The Assembled Kitchen (An Afternoon, Minimal Tools)
The honest starting point most households should actually choose: your existing grill, a stainless prep table (the restaurant-supply secret — cheap, weatherproof, shelved), a lidded deck box for tools and fuel, and a hard cooler as the drinks station. Arrange them in the triangle, add a rug and lighting from our string light guide, and you are cooking outside tonight — upgradeable forever, nothing wasted.
Tier Two: The DIY Counter Build (The Classic Weekend)
The build the video below walks end-to-end: a cinder-block or lumber-framed base, topped with poured concrete, paver slabs, or a stone remnant, with the grill nested at the right height and storage below. Cinder blocks stack dry (no mortar needed for low counters), concrete tops pour in a melamine mold on sawhorses, and the whole structure laughs at weather. Budget: a few hundred dollars; skills: measuring, lifting, patience.
The upgrade moves within tier two: a granite or quartz REMNANT from a local fabricator (offcuts sell cheap and look five-figure), a built-in charcoal side using fire brick, and cabinet doors framed into the block gaps for enclosed storage.
Tier Three: The Semi-Built-In (When the Habit Has Earned It)
Modular outdoor cabinets or a masonry surround, an under-counter fridge on a covered GFCI circuit, and a small sink plumbed from a garden line with a dry-well drain — each a real project, each justified only by proven weekly use. The honest sequencing: nobody regrets building tier two first; plenty regret starting at tier three.
Materials That Survive Outside (And the Ones That Don’t)
Counters: concrete, stone, paver, and tile-over-cement-board all thrive; butcher block and laminate delaminate by autumn. Bases: cinder block, pressure-treated or cedar lumber, steel frames — and never bare MDF or indoor cabinetry, which swell at the first dew.
Storage: marine-style or outdoor-rated cabinets with gaskets, stainless or powder-coated hardware, and latches a raccoon cannot solve (they solve more than you think). Fabrics and finish: exterior-grade everything, stainless fasteners (regular screws bleed rust streaks across concrete within weeks), and a coat of exterior sealer on any wood within splash range.
The floor beneath: pavers, concrete, or gravel — grills over wood decks demand a fireproof mat and extra clearance vigilance. Fire safety is the one category where budget builds and showroom builds follow identical rules: clearances per the grill manual, a rated extinguisher within reach, propane stored upright and outside enclosed spaces, and charcoal ash cooled in metal for days before disposal.
The Splurge-vs-Save Map
SPLURGE: the grill itself if buying new (the engine of the whole room — though a well-kept used quality grill beats a new bargain one), the counter surface at whatever tier (it takes the abuse), and weather covers for everything (the cheapest insurance in the category).
SAVE: the base structure (blocks and lumber cook identically to masonry veneer), the bar and seating (see the budget furniture roundup), lighting (string lights and a clamp work light outperform hardwired sconces at 5% of the cost), and every “outdoor kitchen accessory” whose indoor twin costs half.
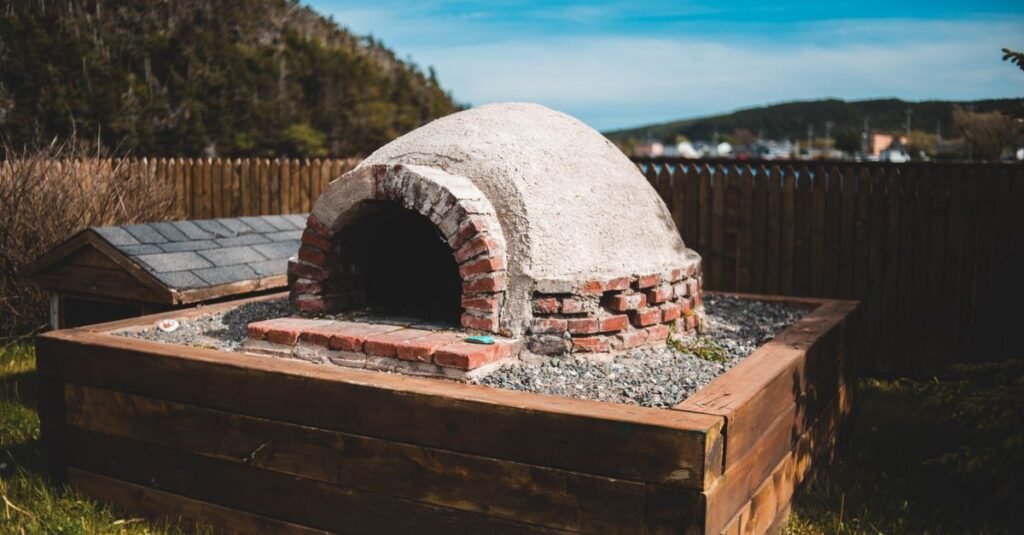
SKIP at the budget tier: built-in fridges (a quality cooler covers hosting; outdoor-rated fridges are a tier-three earn), pizza-oven attachments before you own the habit (a used freestanding oven or a grill stone tests it first — the full romance lives in our fire feature guide), and sinks before plumbing reality — a water jug with a spigot over a bucket is the honest tier-one sink, and it works.
The Weekend Build Plan (Tier Two, Hour by Hour)
Saturday morning: layout marked with chalk, base laid dry (blocks leveled on tamped gravel or slab), heights checked against grill and your own elbows — standard counter height suits most cooks.
Saturday afternoon: top set (paver slabs or pre-poured concrete sections beat wet-pouring in place for first-timers), grill nested, clearances verified against the manual one final time.
Sunday morning: storage installed (deck box or framed doors), hooks for tools, fuel station organized — propane on its shelf or charcoal in a sealed bin.
Sunday afternoon: the finish layer — lighting strung, rug down (synthetic, per our outdoor rug guide), prep table stocked, and the inaugural burgers that double as the punch-list inspection.
The quiet advice inside the plan: build LESS than the sketch says. Every outdoor kitchen grows by season two; almost none shrink — and the counter you add next year will be informed by a summer of actual cooking.
Winterizing and the Off-Season (Protecting the Weekend’s Work)
The budget build survives winters exactly as well as its shutdown ritual. The sequence: grill deep-cleaned (grease is winter’s corrosion starter), burners and lines checked, propane disconnected and stored upright outdoors, charcoal sealed dry; counters cleared and concrete or stone resealed on its schedule (a fall afternoon every year or two); storage emptied of anything freezable or edible (the raccoon audit runs year-round, but frozen olive oil bursts bottles); and covers ON everything — fitted grill cover, breathable counter cover where wood is involved.
The freeze-line footnote for tier-three dreamers: any plumbed water line needs draining before first frost — the ten-minute chore that separates spring reopening from spring re-plumbing.
And the off-season dividend: winter is the planning-and-buying season — grills and outdoor gear hit their deepest clearances after the summer rush, which means next year’s upgrade costs least exactly when this year’s kitchen sleeps. The cook who winterizes in October and shops in February runs the whole hobby at half price.
Frequently Asked Questions
How can I build an outdoor kitchen cheaply?
Start with the grill you own, a stainless restaurant prep table, and a sealed deck box — arranged in a work triangle. Ready to build: cinder-block base plus a concrete or paver top runs a few hundred dollars and outlasts most showroom units.
What is the best budget outdoor countertop?
Poured concrete, paver slabs, or a stone remnant from a local fabricator — all weatherproof and heatproof. Skip butcher block and laminate outside; they fail within a season.
Do outdoor kitchens need plumbing and electricity?
No — most successful budget kitchens run on neither: a water jug with a spigot handles rinsing, coolers handle cold, and solar or string lighting handles evenings. Add utilities at tier three, once weekly use has earned them.
How far should a grill be from the house?
Follow your grill’s manual — typically several feet from combustible walls and railings, never under low overhangs, and clear of windows on the smoke side. Clearance rules outrank every layout preference.
What storage works outside?
Sealed and latched: outdoor-rated deck boxes, marine-style cabinets with gaskets, stainless hardware. Indoor cabinets promoted outdoors swell and fail — and unlatched anything becomes a raccoon buffet.
Is a built-in grill worth it?
Only after the habit is proven — a nested freestanding grill in a DIY counter delivers the built-in look and cooking experience while staying repairable and replaceable. Build the counter around the grill class you already love.
The Upgrade Ladder (Where Season Two’s Money Goes)
The first summer of cooking writes next spring’s shopping list better than any showroom — but the patterns are predictable. The universal first upgrades: task lighting over the grill (the clamp light graduates to a mounted fixture — night grilling is half the season), a second work surface on the OTHER side (the landing zone always proves too small), and weather covers for whatever survived uncovered (nothing does, gracefully).
The habit-revealed upgrades: pizza people add the oven (now justified — the used market is generous), smokers add the smoker (and shade for the long sessions), and entertainers add the bar counter with stools, which quietly becomes where every party actually happens.
The infrastructure tier, earned by frequency: the natural-gas line conversation (once per trench — run electric conduit in the same dig; future-you plans ahead), the under-counter fridge on its GFCI circuit, and real plumbing only when the jug-and-bucket sink genuinely limits you — for most households, it never does.
The discipline that keeps the ladder honest: one upgrade per season, chosen from what actually chafed — never from what photographed well. Outdoor kitchens die of ambition more often than weather; the ones that thrive grew a shelf at a time around a cook who kept cooking.
The Small-Space Editions (Balcony, Townhouse, Courtyard)
The balcony kitchen: an electric grill (most balcony leases prohibit open flame — check first; electrics grill genuinely well now), a folding prep table, and a rail-hung tool rack — the entire triangle in six square feet. Storage is one sealed bin doubling as a stool.
The townhouse courtyard: the vertical build — wall-mounted fold-down counter, tall slim storage against the fence, and the grill on wheels that parks flush — plus lighting doing double duty as ambiance and task.
The narrow side-yard: the galley layout borrowed from boats — grill and counter facing each other two steps apart, weatherproof runner underfoot, and the reminder that clearances still rule in tight quarters; smoke needs somewhere to go that isn’t the neighbor’s window.
The shared-space reality check for all three: ventilation, lease terms, and neighbor diplomacy are the actual building codes here — and an electric-plus-folding setup that stores away entirely is the apartment cook’s honest endgame. The triangle principle never shrinks; only the furniture does.
One Rule Above the Recipes
Whatever tier you build, cook on it within a week — the outdoor kitchen that waits for a finished state never fires, while the cinder-block counter that grilled burgers on day three evolves for a decade. Momentum, not masonry, is the project’s real foundation; the burgers are the ribbon-cutting.
And keep the paper plate honesty: the best outdoor kitchens serve their food on whatever survives the yard — the build exists to make cooking outside effortless, not to relocate the formal dining room. Judge every upgrade by burgers served, and the budget never lies to you.
The Bottom Line
An outdoor kitchen is a work triangle wearing whatever budget you give it: grill, weatherproof counter, sealed storage — placed close to the house, clear of combustibles, and sized to how you genuinely cook.
Start at the tier your weekend allows, spend on surfaces and safety, save on structure and style — and let season two’s upgrades be designed by season one’s dinners.

I'm Nasir Uddin Khan, founder of HomeNeeds24 and a senior IT consultant with 18+ years' experience in Oracle database administration, enterprise infrastructure and ERP system design. I write the buying guides here and I build every calculator on the site myself, from published engineering standards rather than opinion. My research is structured rather than lab-based: manufacturer specifications, safety and efficiency standards, and the trade-offs that repeat across large volumes of verified customer reviews. Where I have direct hands-on experience — smart home, networking, energy and anything computer-adjacent — I say so in the guide.