
Few decor choices are as timeless — or as forgiving — as black and white photography. It works in any room, suits every style from farmhouse to modern, and instantly makes a wall look curated rather than cluttered. Best of all, it’s an affordable way to add real personality to your home. This guide covers how to decorate with black and white photography prints: why they work, how to choose them, how to frame and arrange them, and how to build a gallery wall that looks designed rather than thrown together.
Also Read


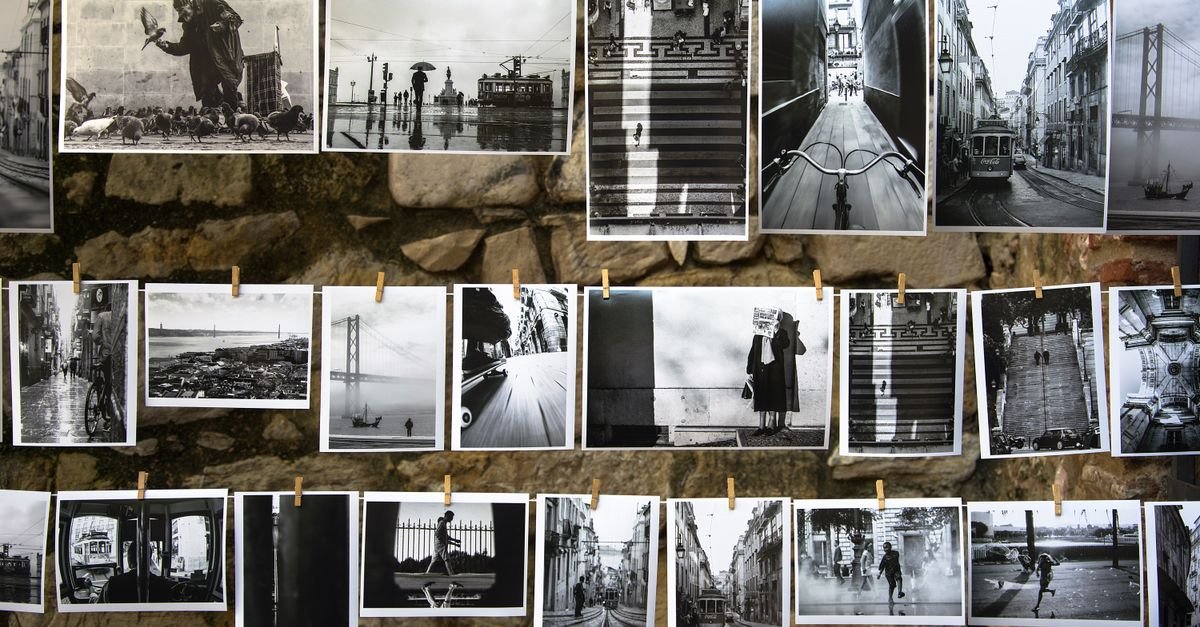
Why Black and White Photography Works in Any Home
Color is the trickiest part of decorating — it has to coordinate with your walls, furniture, and textiles. Black and white prints sidestep that problem entirely. Stripped of color, a photograph becomes about light, shadow, texture, and composition, which means it slots into almost any palette without clashing. It reads as sophisticated and calm, adds contrast to neutral rooms, and quietly ties a space together. For anyone nervous about getting art “wrong,” monochrome is the safest, most flexible place to start.
Choosing the Right Prints for Your Space
Match the Subject to the Room
The subject sets the mood. Landscapes, coastlines, and forests bring calm — ideal for bedrooms and living rooms. Architecture and city scenes feel crisp and modern, suiting offices and entryways. Botanical close-ups soften kitchens and bathrooms, while candid family photos in black and white add warmth to hallways and stairwells. Pick subjects that suit how a room is used and the feeling you want when you walk in.
Consider Contrast and Tone
Not all black and white prints are equal. High-contrast images with deep blacks and bright whites feel bold and graphic — great as a statement piece. Softer, grayer images feel gentle and atmospheric, better for restful spaces. Look at the dominant tone of a print and ask whether you want it to grab attention or melt into a calm scheme.
Scale It to the Wall
Size is where most people go wrong. A single small print marooned on a large wall looks lost. As a rule, art should fill roughly two-thirds to three-quarters of the wall space above furniture. Go big with one oversized print, or group several smaller ones to cover the area. When in doubt, size up — a slightly-too-large piece almost always looks better than a too-small one.
As an Amazon Associate, HomeNeeds24 earns from qualifying purchases.
Framing: The Detail That Makes or Breaks the Look
The frame matters as much as the photo. For a clean, modern feel, thin black or white frames let the image speak. For warmth, natural wood frames soften the contrast. A wide white mat (the border between photo and frame) instantly makes any print look more gallery-like and expensive — it gives the image room to breathe. The golden rule: keep framing consistent within a single grouping. Mixed photos with matching frames look intentional; matched photos with mismatched frames look chaotic.
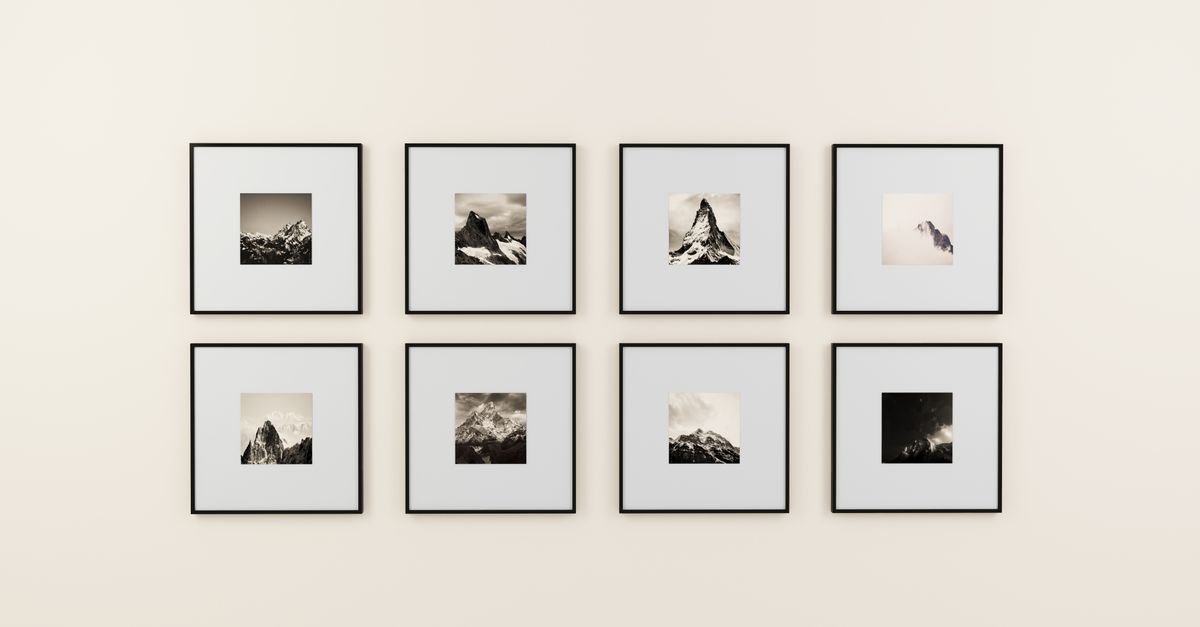
How to Arrange a Gallery Wall
A gallery wall turns a few prints into a focal point. Here’s how to get it right:
- Plan on the floor first. Lay out your prints and rearrange until the composition feels balanced before a single nail goes in.
- Keep spacing even. Two to three inches between frames is the sweet spot — consistent gaps are what make a wall look professional.
- Anchor to a line. Align the group around a central horizontal line or a strong edge so it reads as one unit.
- Mix sizes, repeat frames. Vary print sizes for interest but keep frame style and color consistent for cohesion.
- Use paper templates. Trace each frame onto paper, tape the templates to the wall, and adjust before hammering — it saves a wall full of stray holes.
Where to Hang for the Best Effect
Hang art so the center sits around eye level — roughly 57 to 60 inches from the floor. Above furniture, leave a hand’s width or so (about 6 to 10 inches) between the top of the sofa or console and the bottom of the frame so the art relates to the piece below it. In a stairwell, follow the diagonal of the stairs. Avoid hanging prints too high, the single most common mistake — art that floats near the ceiling disconnects from the room.
Budget-Friendly Ways to Get the Look
You don’t need expensive original prints. Affordable poster-style prints, printable digital downloads you frame yourself, or even your own photos converted to black and white can look stunning once framed and matted well. The frame and mat do most of the heavy lifting visually, so spend a little more there and save on the print itself. A cohesive, well-hung grouping of inexpensive prints beats one pricey piece hung badly every time.
Frequently Asked Questions
Do black and white prints go with colorful rooms?
Yes — that’s one of their biggest strengths. Without color of their own, monochrome prints add contrast and structure without competing with your existing palette, so they work beautifully in both neutral and colorful spaces.
What size print should I buy?
Aim to fill about two-thirds to three-quarters of the wall or furniture below it. Use one large print or a group of smaller ones, and when unsure, size up — too-small art is a far more common mistake than too-large.
How high should I hang photography prints?
Center the art around 57 to 60 inches from the floor (eye level). Above a sofa or console, leave roughly 6 to 10 inches between the furniture and the frame so the pieces feel connected.
What frames look best with black and white photos?
Thin black or white frames give a clean modern look, while natural wood adds warmth. A wide white mat makes any print look more expensive. Keep frames consistent within a grouping for a cohesive result.
Key Takeaways
- Black and white photography suits any style and palette, making it the most flexible wall art.
- Match the subject and tone to the room’s mood, and scale prints to fill the wall properly.
- Framing and a generous mat matter as much as the photo — keep frames consistent within a group.
- Plan gallery walls on the floor, keep even spacing, and use paper templates before hanging.
- Hang at eye level, and remember a cohesive set of affordable prints beats one pricey piece hung poorly.
Black and white photography is the easiest way to make a wall look intentional, calm, and expensive — without the risk that comes with color. Choose subjects you love, frame them well, and hang them at the right height. For more ideas, explore our home decorating guides and the full Wall Art & Decor collection.